A flat panel detector is one of the most-touched — and least-cleaned — surfaces in the imaging room. Liquids and disinfectants rarely destroy a detector outright, but repeated exposure to the wrong chemicals, sprayed-on fluids, or seepage through seams and connectors causes gradual image artifacts, contact corrosion, and out-of-warranty repairs. The safe routine is three steps: clean with a soft, slightly damp cloth; disinfect with a manufacturer-approved agent (widely, 70% isopropyl alcohol on a cloth, never sprayed); and protect the detector with a dedicated cover in the highest-risk rooms. Every chemical decision should come from the manufacturer’s instructions for use (IFU) — this article tells you exactly what to ask for.
Infection control has moved to the top of the checklist in hospitals, urgent care centers, and veterinary clinics alike — yet in most facilities the flat panel detector never appears on the disinfection schedule. The imaging room gets cleaned; the detector gets used. That gap matters, because the detector touches bare skin and fur all day, travels between rooms in its wireless form, and sits directly under patients who bleed, drool, or incontinently release fluids. This article explains where the contamination and liquid risks actually come from, how to build a cleaning routine that does not shorten the detector’s life, and what to confirm with the manufacturer before your staff wipes anything with anything.

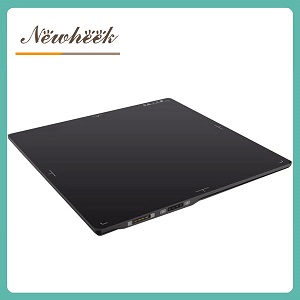
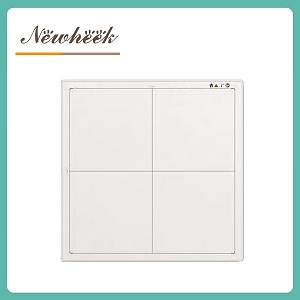
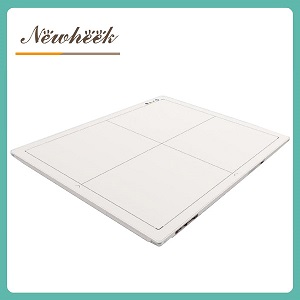
A wireless flat panel detector, front and back. The housing, handle, and cable connectors are the surfaces your cleaning protocol actually lives on.
Run through a typical imaging day and the detector’s exposure becomes obvious:
Despite this, detectors are frequently excluded from cleaning protocols because staff are afraid of damaging a device that costs more than most other equipment in the room. The result: contamination accumulates until someone finally cleans it aggressively — often with the wrong agent. Both extremes (never cleaning, and deep-cleaning with random chemicals) carry risk. The fix is a written routine, not improvised enthusiasm.
Liquid reaching a detector generally falls into four groups:
What does liquid actually do? Rarely is it a single dramatic failure. More often the sequence is gradual: fluid seeps past a housing seam or pools in a connector, contacts corrode, and the detector begins showing recurring artifacts, dead lines, or intermittent dropouts. Because liquid ingress is classified as misuse rather than a manufacturing defect by most warranties, these repairs are usually out of pocket. That is exactly why the cleaning routine below favors cloths over sprays, and covers over hope.
Wipe the housing, handle, and cassette edges with a soft, lint-free cloth lightly dampened with water or a mild detergent solution. The cloth should be damp — not wet. No visible moisture should remain on the surface after ten seconds. Never pour or spray liquid directly onto the detector; anything that must be applied, apply to the cloth first.
The most widely used agent for medical device surfaces is 70% isopropyl alcohol applied to a cloth, which evaporates fast enough to limit seepage into seams. This is a common industry practice, not a universal rule: your detector’s IFU defines which agents are approved and which void the warranty. If your facility does not know where the IFU is, that is the first thing to fix — before the next wipe.
Where stronger agents are required by the facility’s infection program, do not improvise. This is the territory of disinfectant compatibility (next section) and, ideally, of a physical barrier: a dedicated detector cover that takes the chemical load instead of the housing.

The handle, edges, and connector area see the most hand and patient contact — and deserve the most attention in any wipe-down.
Before your infection-control team standardizes on any wipe chemistry, put these five questions to the detector manufacturer — in writing, and file the answers with the purchase documents:
Veterinary clinics deserve their own section, because the exposure profile is different in kind, not just degree:
Practical countermeasures that work in clinics we talk to: place a disposable or wipeable barrier over the detector for every sedated or trauma patient; dry-vacuum or brush seams and connectors before any wet wipe; and schedule kennel-area fogging for times when the detector is out of the room. For clinics running a wireless plate between the exam table, kennels, and surgery, a purpose-built wireless veterinary flat panel detector paired with a protective cover is a cleaner starting point than adapting human-market hardware.
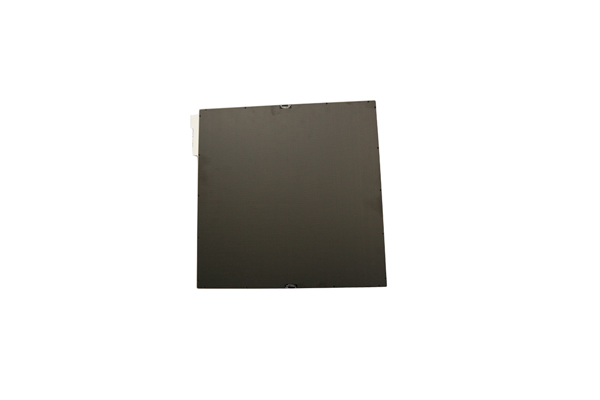
The back housing: seams, mounting points, and cable glands are where liquids try to get in — and where wipe technique matters most.
Infection control is easiest to design in at purchase time. Alongside the usual image-quality questions, add these to your RFQ:
If you are weighing wired against wireless for a multi-room workflow — the scenario where cross-contamination risk is highest — our comparison of wired vs. wireless flat panel detectors covers the operational trade-offs in detail.
Only if the manufacturer’s IFU lists that wipe class as approved. Many facilities default to the same wipes used on beds and monitors, and some housings tolerate them — but chlorine-based and high-concentration agents can degrade labels, coatings, and sensor windows over repeated use. Get the approved list in writing from the manufacturer before standardizing.
It is the most widely used surface disinfectant for medical imaging devices because it evaporates quickly and leaves little residue — but applied to a cloth, never sprayed, and only where the IFU permits. Always follow with a dry wipe so no pooled liquid remains near seams.
Power down per the manual, wipe the surface dry immediately, keep the detector horizontal, and do not reconnect it until you are confident no liquid entered the seams or connectors. Contact the manufacturer — an honest description of the spill helps them advise whether continued use is safe. Ignoring it and hoping is the most expensive option.
A purpose-built cover should not measurably affect diagnostic image quality; that is one of the reasons covers exist as engineered accessories rather than improvised plastic sleeves. Ask the manufacturer whether the cover was designed for the detector’s beam path and confirm in writing that it does not alter the stated image performance.
There is no universal schedule. Surface wipes happen between patients per your infection program; the seams, recesses, and connectors deserve a periodic inspection-and-clean during planned maintenance. Ask the manufacturer for a recommended interval and fold it into your existing QC calendar — our article on durability specs covers how environment and handling shape a detector’s working life.
Need the approved disinfectant list, ingress-protection details, or protective cover options for a flat panel detector in a human or veterinary setting? Contact us:
Email: admin@newheek.cn
Phone/WhatsApp: +86 19062611512 (WhatsApp chat)
Or leave a message on our contact page — tell us your imaging environment and we will recommend a fitting configuration.
Author:Newheek-Detector
Tel:+86 19062611512
Email:admin@newheek.cn
Company:Weifang Newheek Electronic Tech Co., Ltd.