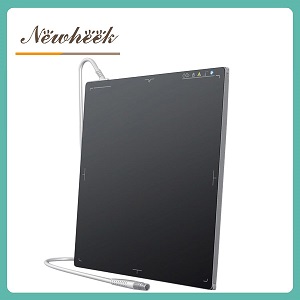
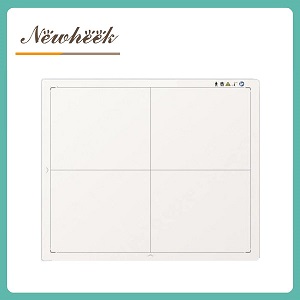
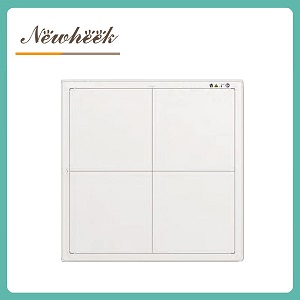
Every number on a veterinary flat panel detector’s specification sheet maps to something specific that happens in your exam room. Spatial resolution (commonly listed around 3.6 Lp/mm on cassette-size a-Si panels) decides whether a hairline fracture survives the trip to your screen. Pixel matrix (for example 2912 × 2912) decides how far you can zoom before the image falls apart. Bit depth (16 bits) decides whether you can see a metal implant and the soft tissue around it in one exposure. The scintillator (cesium iodide, CsI) decides how much signal survives at low dose — which matters when the patient is a panting, un-sedated dog. And active area (about 405 × 405 mm on a 17×17 panel) decides whether a giant-breed abdomen fits in one shot. Here is what each number does, and where its claims stop.
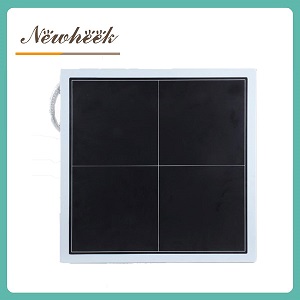
Spatial resolution, quoted in line pairs per millimeter (Lp/mm), measures the smallest repeating detail the detector can still separate. Veterinary detectors built on amorphous silicon with a CsI scintillator commonly list around 3.6 Lp/mm; some CMOS panels in dental and extremity work list higher. Three practical notes for a clinic buyer:
A pixel matrix of 2912 × 2912 means the panel divides its active area into roughly 8.5 million individual sensor elements. Combined with a 405 × 405 mm active area, that works out to a pixel pitch near 139 μm — a common figure in this detector class. What does that buy you in the exam room?
Bit depth describes how many shades of gray the detector can record between its dimmest and brightest signal — 16-bit conversion is the commonly published figure for this class. The clinical value shows up in one recurring scenario: a radiopaque implant or dense bone sitting next to soft tissue in the same exposure.
With shallow bit depth, you face a choice: expose for the bone and lose the soft-tissue detail around it, or expose for tissue and blow out the metal. A wide dynamic range lets one image carry both — the implant’s edge and the swelling around it. In practice this also means fewer retakes to “get the exposure right,” which is worth real money in a busy schedule and matters even more when every retake is another dose for an already-stressed animal.
One caveat worth writing into your RFQ: the bit depth of the detector does not guarantee the bit depth of what your software saves and displays. Ask what the acquisition workstation preserves end to end.
The scintillator is the layer that converts X-rays your patient didn’t absorb into visible light the sensor can read. The two common choices are cesium iodide (CsI, usually grown into needle-like structures that channel light with minimal spread) and gadolinium oxysulfide (GOS, a granular screen). A CsI-based panel generally converts more of the incoming signal into usable image data — which translates into two things a veterinary clinic actually feels:
We have covered the CsI-versus-GOS trade-off in a separate comparison; for veterinary buying purposes the short version is that CsI’s low-dose efficiency is why it dominates spec sheets in this category.
Active area — roughly 405 × 405 mm on a 17×17-inch panel — is the physical region that actually captures image data. Size interacts with veterinary caseload in a way human-imaging buyers don’t face:
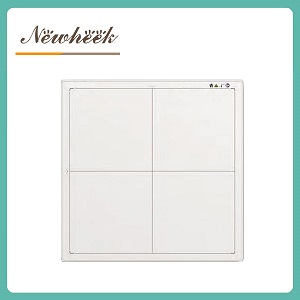
For a closer look at how sizes map onto veterinary patients specifically — cats through giant breeds — see our guide to pet flat panel detector sizes, and our category overview of vet X-ray DR detectors.
Six numbers describe the sensor. They say nothing about the three things that most often decide day-to-day satisfaction:
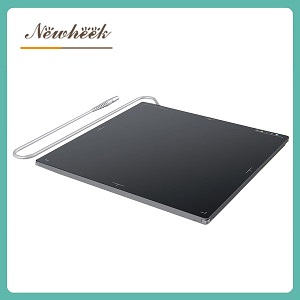
That is why the end of every spec-sheet review should be a demo with your own patients and your own generator — the numbers qualify a detector for the shortlist; only the room can finish the job. Our practical walkthrough of what to verify at a demo, and the questions worth putting in writing, is collected in our veterinary detector buying guide.
For the majority of veterinary work — thoracic and abdominal screening, fracture detection, orthopedic follow-up, foreign bodies — yes, provided technique and positioning are sound. Specialized fine-detail work (dental, small-extremity, research imaging) sometimes justifies panels with higher figures. The number is a ceiling: motion blur and poor technique can waste it, so treat 3.6 Lp/mm as a solid baseline to protect with good workflow, not a limitation to worry about.
The mechanism is real: CsI converts more of the transmitted X-ray signal into usable image data than granular screens, so an equivalent image can be produced with fewer photons. But the dose your patient receives is set by technique — kV, mAs, distance, collimation — not by the panel alone. The honest framing is that a CsI panel gives you headroom to run lower-dose techniques while keeping image quality, and the actual protocol belongs to the veterinarian and the machine’s settings.
No, and buyers sometimes conflate them. Pixel matrix (for example 2912 × 2912) is how many sensor elements tile the active area — it governs spatial sampling and zoom behavior. Bit depth (for example 16 bits) is how many gray levels each element records — it governs how much brightness information survives in one exposure. A panel can be strong on one and modest on the other; they answer different clinical questions.
Not necessarily. Resolution, matrix, bit depth and scintillator choice all cost money, and the clinical payoff depends on your case mix: a general practice doing screening and foreign bodies gains little from spec-sheet maxima, while a surgical referral practice may genuinely use them. Buy the numbers your cases need, verify them at a demo with your own patients, and put the confirmed figures in the purchase contract.
If you are comparing veterinary detectors and want help mapping a spec sheet onto your actual case mix, send us your examination list, your generator model and your table type. You can start from our veterinary portable detector product page, browse the full range in our vet X-ray DR category, and reach us directly at admin@newheek.cn or +86 19062611512 (also WhatsApp) via our contact page.
Author:Newheek-Detector
Tel:+86 19062611512
Email:admin@newheek.cn
Company:Weifang Newheek Electronic Tech Co., Ltd.