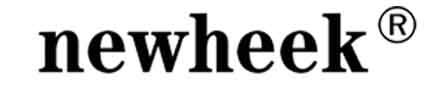
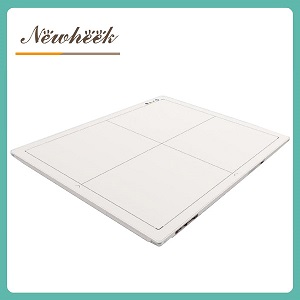
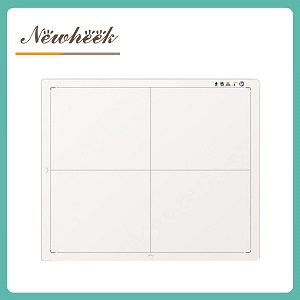
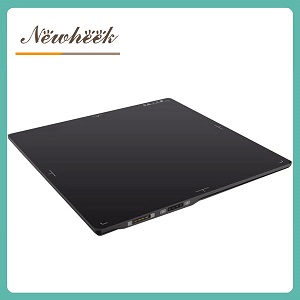
a mammography flat panel detector is the least interchangeable flat panel you can buy. General radiography panels survive on a loose tolerance — 14×17 or 17×17, wired or wireless, and the workflow still works. A mammography unit is the opposite: a fixed tube-to-detector geometry, a compressed breast instead of a cooperative patient, auto-exposure control that has to agree with the panel, and a viewing chain tuned for the finest detail in diagnostic imaging. Get one of these wrong and the panel physically fits but clinically fails. This article walks through the six checks that decide whether a mammography panel — new or as a replacement — actually fits your unit, and finishes with the questions to put to any supplier.
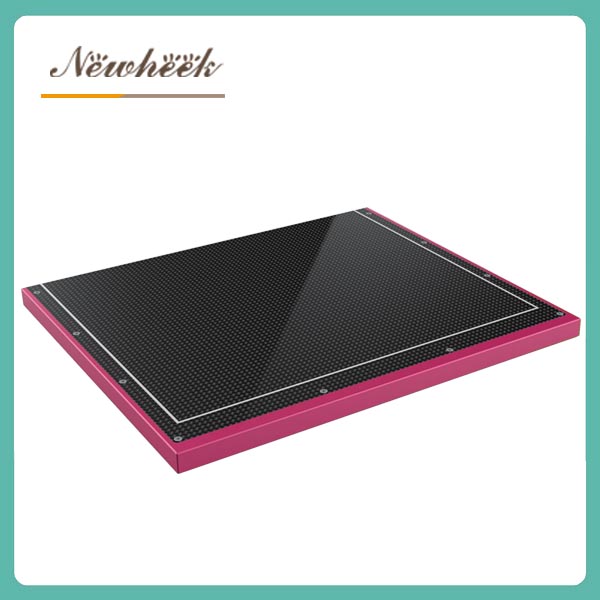
Three structural reasons, none of them marketing:
Together these mean the buying decision is less “which panel has the best numbers” and more “which panel matches the unit, the exam, and the workflow without surprises.” The six checks below are ordered by how often they sink a purchase.
Start with the two physical dimensions that decide fit. Mammography inherited the film-era footprint: a detector that covers the breast side-to-side and meets the chest wall with a deliberately thin edge. We explain elsewhere why the 24×30 cm class footprint and a chest-wall edge on the order of one-and-a-half to two millimetres exist — the short version is that a thick edge pushes breast tissue out of the image exactly where early lesions like to hide.
So before anything else, measure the slot in your unit — or the panel being replaced — and confirm:
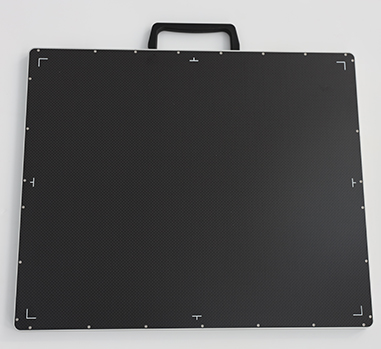
This sounds obvious, and it is the single most common reason a “compatible on paper” panel goes back in a box. If you are replacing an existing panel, the safest move is to have the old panel’s exact dimensions on the table during the discussion — not just its model description.
Mammography is the application where pitch earns its keep: resolving microcalcifications, which are often cited in the literature as being on the order of tenths of a millimetre, demands fine sampling near the detector’s limit. Our two mammography panels share the same footprint class and the same 85 μm pitch — that is the baseline the application expects, and we would treat anything meaningfully coarser as a general-purpose panel being asked to do a specialist’s job.
But the flip side matters too: pitch alone does not make a mammography panel. Focal-spot size, motion control, and the reconstruction or processing chain all cap what finer sampling can deliver. So the check here is two-sided: confirm the pitch is genuinely in the mammography class, and stop paying premiums for resolution the rest of your system cannot hand to the panel.
Our current mammography range runs two routes over the same footprint: a cesium iodide on amorphous silicon design, and an IGZO-based readout design. Both are established in breast imaging; they differ in how they trade light conversion, noise behaviour, readout speed, and cost. We keep a technical overview of the CsI a-Si route for FFDM and digital breast tomosynthesis, and the two panels are documented separately on their product pages — the a-Si design and the IGZO design.
What the buyer should actually do at this check: ask each candidate supplier which route the panel takes and why it suits the unit’s generator and intended exam mix. A supplier who can answer that in one sentence understands their own product; a supplier who answers with a spec table does not. For screening-heavy sites, ask explicitly whether the panel supports tomosynthesis workflows or is designed for static FFDM only — the answer changes both the price and the installation conversation.
This is where mammography differs most from general radiography buying. The unit’s auto-exposure control decides when to cut the exposure based on breast thickness and density; the panel must synchronize with that decision, frame at the right moment, and report back through the unit’s timing chain. A panel that images beautifully on a bench can still mis-trigger in a mammo bucky if the handshake was never verified.
Before committing, require in writing:
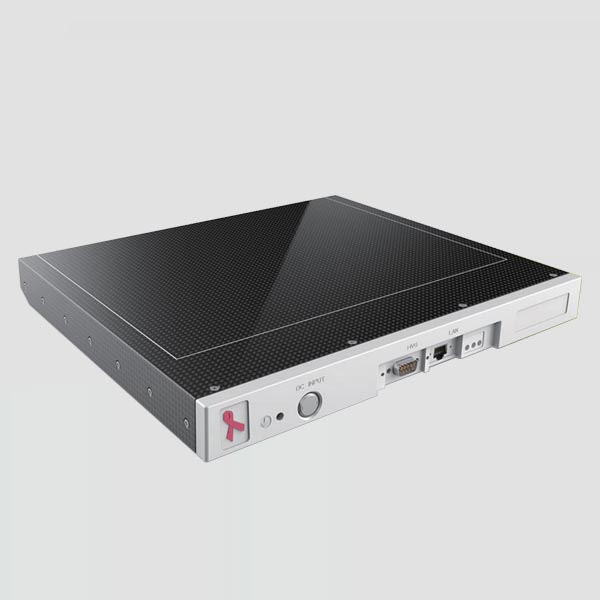
If a supplier cannot describe the AEC conversation between unit and panel, treat that as a red flag regardless of the image quality on the demo stand.
A mammography panel feeds one of the most demanding viewing chains in diagnostic imaging: dedicated breast viewing conditions, specialist processing, and a reporting workstation that may or may not be the same one your general DR uses. The checks that matter:
We cover the general detector-side integration questions in depth in a separate workflow article; the mammography-specific point is narrower but stricter — the viewing chain, not the panel, is usually where a technically successful installation fails clinically.
Mammography programs live and die on consistency: uniformity that does not drift, artifacts that are caught before they reach a report, and records that survive an audit. Whatever panel you buy, the installation should end with three deliverables, not two:
If the supplier’s after-install package does not include a baseline QC set, budget for a medical physicist’s acceptance visit — and treat that as part of the panel’s real cost.
A fair question once the six checks are on the table. Our honest framing:
Adapted from our general detector RFQ guide, but mammography-specific, and deliberately answerable in writing:
A supplier who answers these five without hedging is worth a demo. One who answers in brochure language is not, no matter how good the demo looks.
Practically, no. Even ignoring the physical fit, the pitch class, chest-wall edge geometry, dose-coordinated exposure logic, and viewing chain requirements of breast imaging sit outside what a general panel delivers. Mammography panels are engineered as a separate product line for good reason.
Finer sampling helps resolve microcalcifications, but it only pays off if the focal spot, motion control, and processing chain can feed it. Ask what the full imaging chain resolves in practice — a panel sample image of actual breast tissue tells you more than a pitch figure on its own.
Almost never. Mammography detectors live in a fixed bucky with a wired power and data connection; wireless is a general radiography convenience, not a mammography requirement. Ask instead about cable routing in your unit’s bucky and connector durability.
The physical swap is the fast part. The schedule is dominated by generator/AEC integration and acceptance testing — including AEC-triggered exposures and the baseline QC set. Ask the supplier for a written installation plan with those milestones before ordering, and be suspicious of quotes that promise the whole job in a day.
For mammography flat panel detector selection, unit compatibility checks, or a quotation, reach us directly:
Email: admin@newheek.cn
Phone/WhatsApp: +86 19062611512
Author:Newheek-Detector
Tel:+86 19062611512
Email:admin@newheek.cn
Company:Weifang Newheek Electronic Tech Co., Ltd.